Image Source: Google
Drywall is a common material used in the construction of walls and ceilings. However, even with careful handling, it is not uncommon for drywall to get damaged over time. Whether it's a small hole, a crack, or a dent, it's important to repair the damage to maintain the aesthetic appeal of your space. In this article, we will share expert tips on how to master the art of drywall repair for a seamless finish.
1. Prepare the Area
Before you start the actual repair work, it's crucial to prepare the damaged area. Remove any loose or damaged pieces of drywall, and make sure the surface is clean and free from dust or debris. This will ensure that the new patch or compound adheres properly to the existing drywall.
2. Choose the Right Repair Method
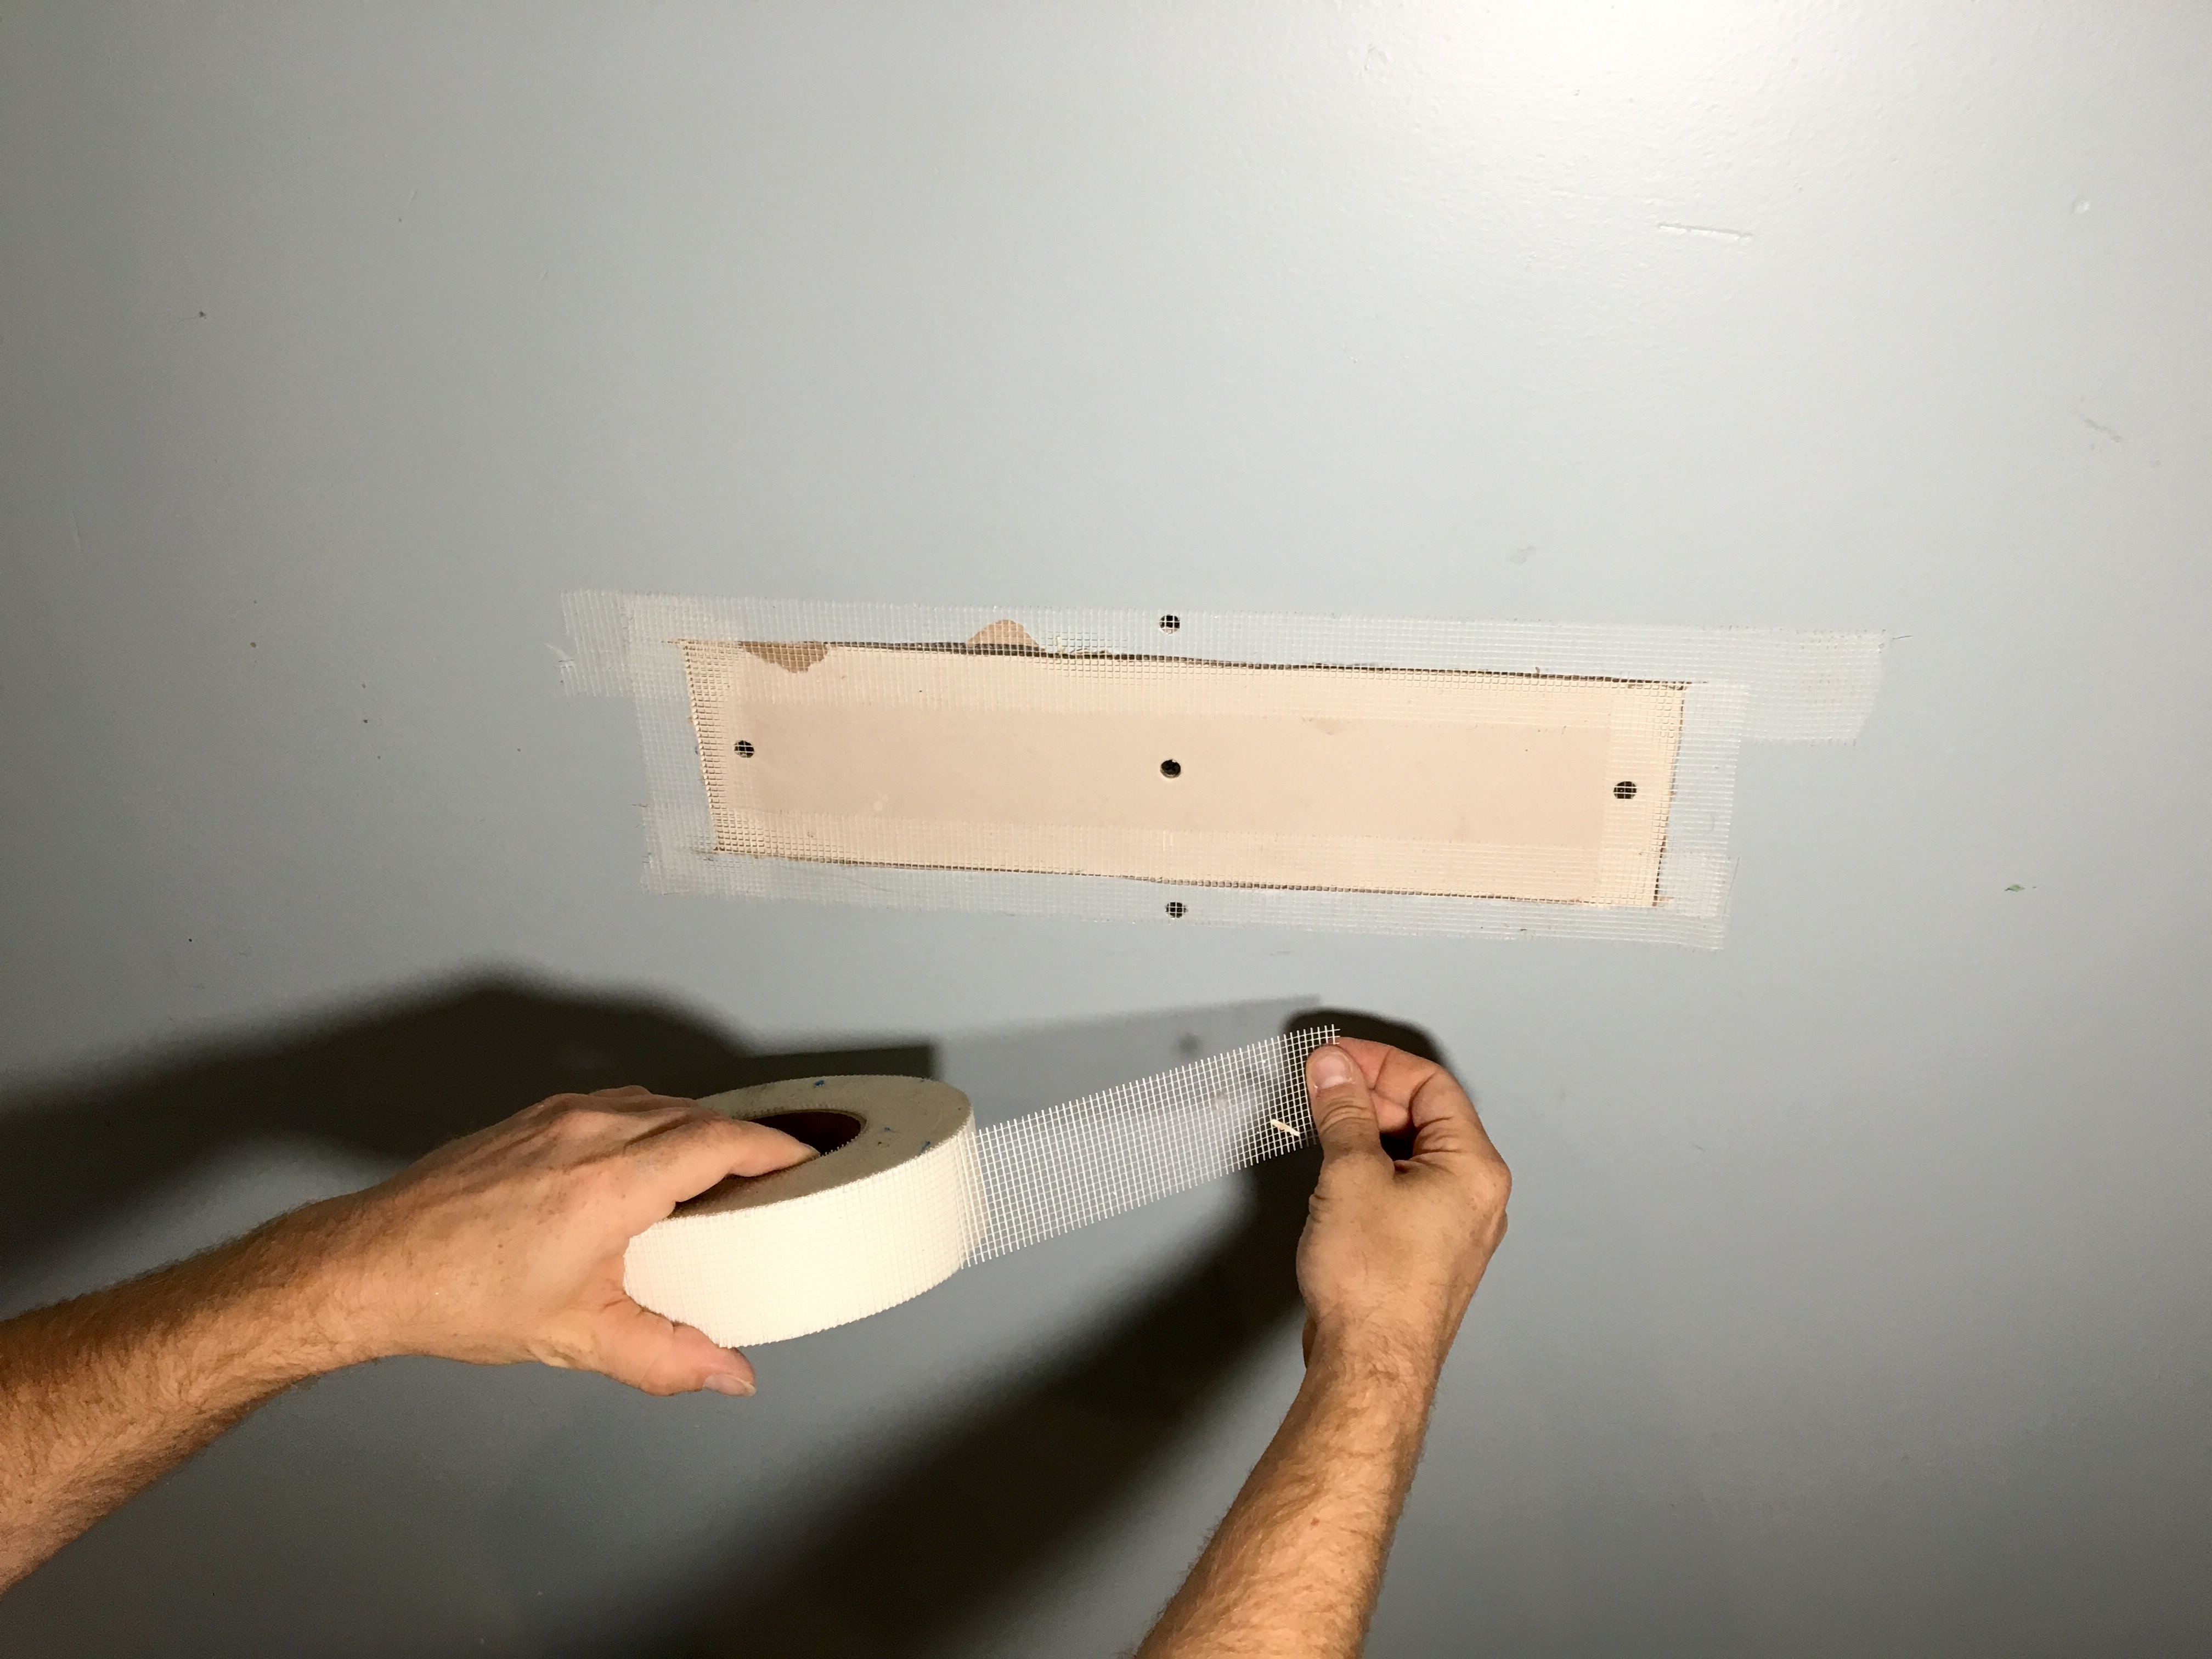
There are different repair methods for different types of damage. For small holes and cracks, you can use a patching compound or joint compound. Apply the compound evenly and smoothly, making sure to feather the edges to blend it seamlessly with the surrounding drywall. For larger holes, it's best to use a drywall patch or a piece of drywall cut to fit the damaged area.
3. Use the Right Tools
Having the right tools is crucial in achieving a seamless finish. Some essential tools for drywall repair include a putty knife, sandpaper or sanding block, a utility knife, and a taping knife. These tools will help you apply, smooth, and blend the patching compound or joint compound effectively.
4. Take Your Time
Mastering the art of drywall repair requires patience and attention to detail. Rushing through the repair process may result in an unsightly finish. Take your time in applying the compound, smoothing it out, and allowing it to dry before sanding or applying another coat. This will ensure a seamless finish that blends seamlessly with the existing drywall.
5. Sand and Prime
Once the repair work is complete and the compound is dry, it's important to sand the patched area to achieve a smooth finish. Use fine-grit sandpaper or a sanding block to gently sand the patched area and feather the edges. After sanding, wipe away any dust or debris and apply a primer to the repaired area. Priming helps to seal the patch and ensures that the paint adheres properly.
6. Match the Texture
One of the challenges in drywall repair is matching the texture of the existing wall or ceiling. Different textures, such as orange peel, knockdown, or popcorn, require different techniques to recreate. To match the texture, you can use specialized tools like a texture brush or roller, or even opt for spray-on texture. Test the texture on a small area before applying it to the entire repaired area to ensure a seamless match.
7. Paint to Perfection
The final step in achieving a seamless finish for your drywall repair is painting. Use a high-quality paint that matches the color of the surrounding wall or ceiling. Apply the paint evenly and smoothly, feathering the edges to blend with the existing paint. Allow the paint to dry completely before adding a second coat if necessary.
Remember, mastering the art of drywall repair takes practice and experience. Don't be discouraged if your first attempt doesn't turn out perfect. With time and patience, you will improve your skills and be able to achieve a seamless finish that will make your repaired drywall look as good as new.