Adding a wood fence to your outdoor space is a great way to enhance privacy, security, and aesthetics. Wood fence panels are a popular choice among homeowners due to their durability, versatility, and natural beauty. Whether you're looking to install a new fence or replace an existing one, this ultimate guide will walk you through the process of installing wood fence panels to transform your outdoor space.
Choosing the Right Wood Fence Panels
Types of Wood
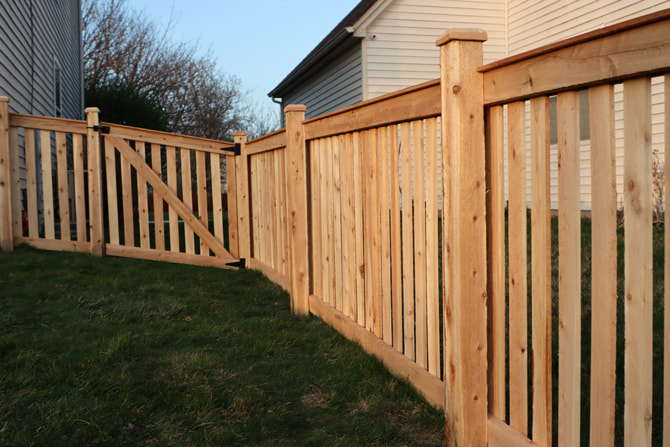
- Cedar: Known for its natural resistance to decay and insects, cedar is a popular choice for wood fence panels.
- Redwood: Redwood offers a rich, natural color and is resistant to rot and decay.
- Pine: Pine is a cost-effective option that can be treated to improve its durability.
Panel Designs
- Vertical Panels: Provide a traditional look and offer maximum privacy.
- Lattice Panels: Add a decorative touch while still allowing some visibility.
- Picket Panels: Ideal for a classic, country-style fence design.
Preparing for Installation
Check Local Regulations
- Check with your local municipality to ensure you comply with any regulations regarding fence height, placement, and materials.
- Obtain any necessary permits before starting the installation process.
Gather the Necessary Tools and Materials
- Fence panels
- Pressure-treated posts
- Gravel or concrete mix
- Level
- Post hole digger
- Screws or nails
- Hammer or drill
Installation Process
Step 1: Marking the Fence Line
Use stakes and string to mark the perimeter of your fence line. Ensure the line is straight and meets any local regulations regarding setback from property lines.
Step 2: Digging Post Holes
Use a post hole digger to dig holes for your fence posts. The depth of the holes will depend on the height of your fence panels. Typically, one-third of the post length should be buried for stability.
Step 3: Setting the Posts
Place the posts in the holes and fill the holes with gravel or concrete mix to secure them in place. Use a level to ensure the posts are plumb before the concrete sets.
Step 4: Attaching the Fence Panels
Once the posts are set, attach the fence panels to the posts using screws or nails. Make sure the panels are level and evenly spaced.
Step 5: Finishing Touches
Apply a protective sealant or stain to the wood fence panels to enhance their durability and appearance. Consider adding post caps or decorative elements for a custom look.
Maintenance Tips
Regular Inspections
- Regularly inspect your fence for any signs of damage, such as loose panels or rotting wood.
- Make any necessary repairs promptly to prevent further damage.
Cleaning and Sealing
- Regularly clean your fence with a mild detergent and water to remove dirt and debris.
- Apply a fresh coat of sealant or stain every few years to protect the wood from the elements.
Trimming Vegetation
- Trim any vegetation that grows near or on your fence to prevent damage from overgrowth.
- Avoid planting vines or climbing plants that can cause the wood to rot.
Enhance Your Outdoor Space with Wood Fence Panels
Installing wood fence panels can transform your outdoor space into a private and inviting retreat. By choosing the right materials, following proper installation techniques, and implementing regular maintenance, you can enjoy the beauty and functionality of a wood fence for years to come.